Hello everyone!I know, it's been so long!! I've been a little busy with wedding plans and all, but now I am happy to announce that I am officially Megan Yandow! My new husband Sam and I were married on November 23rd and I couldn't be happier! Anyways, now that the wedding is over, it's back to crafting! I have a confession to make.. I haven't make a single craft since my last post. I know I know, but before you totally write me off, check out the project I just finished! Being newly married and students to boot, we are pretty broke, so buying Christmas decorations are on the bottom of the to do list this year :(. Well, that isn't going to stop me from making our humble abode as festive as I possibly can! Here is my very first decoration!
Not too bad, eh? Alright, so it is definitely not store bought, but It was so fun to make and I think it is so cute! It is a very mini pinecone tree!! Now I know you are dying to know how to make it, so I'm gonna tell you!
You will need:
A styrofoam cone
Pinecones (Obviously!)
Hot glue
Ribbon
Step one! Take apart your pinecones. I already had these potpourri pinecones, so I used these. You can use any you might find outside as well. Also, quick side note that took me forever to figure out, start fro the bottom! It is impossible to get the little scales (that's what they look like) off in good shape if you start from the top. Starting from the bottom also requires having an open bottom, not a closed one, like this:
Not like this!!
So you will have little pieces that look something like this little mess: (Note: it does get very messy, I would recommend putting newspaper under your little workspace for easier cleanup… trust me.)

Step Two! Start sticking your scales into the styrofoam pointy side in, rounded side out. I just stuck mine in and they stay really well, but if you want them to be even more secure, you can put a dab of hot gluon the tip before sticking it in. Note thought that this will at least double the amount of time you will be spending on this project. I started out just doing a row at a time, but as i got higher up, it started getting more and more uneven to where it was a spiral up the styrofoam. I liked the spiral part better because the uneven look makes it look better in my opinion, but of course you can do it however you want! Also, you may want to paint your styrofoam before sticking the pinecones in, to eliminate any white that might show through. I didn't paint mine because I really don't like painting styrofoam.


You will notice in the above picture, some of the scales are broken and scraggly looking. That is just fine! When you are all done, they will either be totally covered, or make it look more realistic. Also, I found it was easier to use the bigger scales at the bottom, and get smaller ones as you go up, otherwise they will overlap too much and look a little funky.
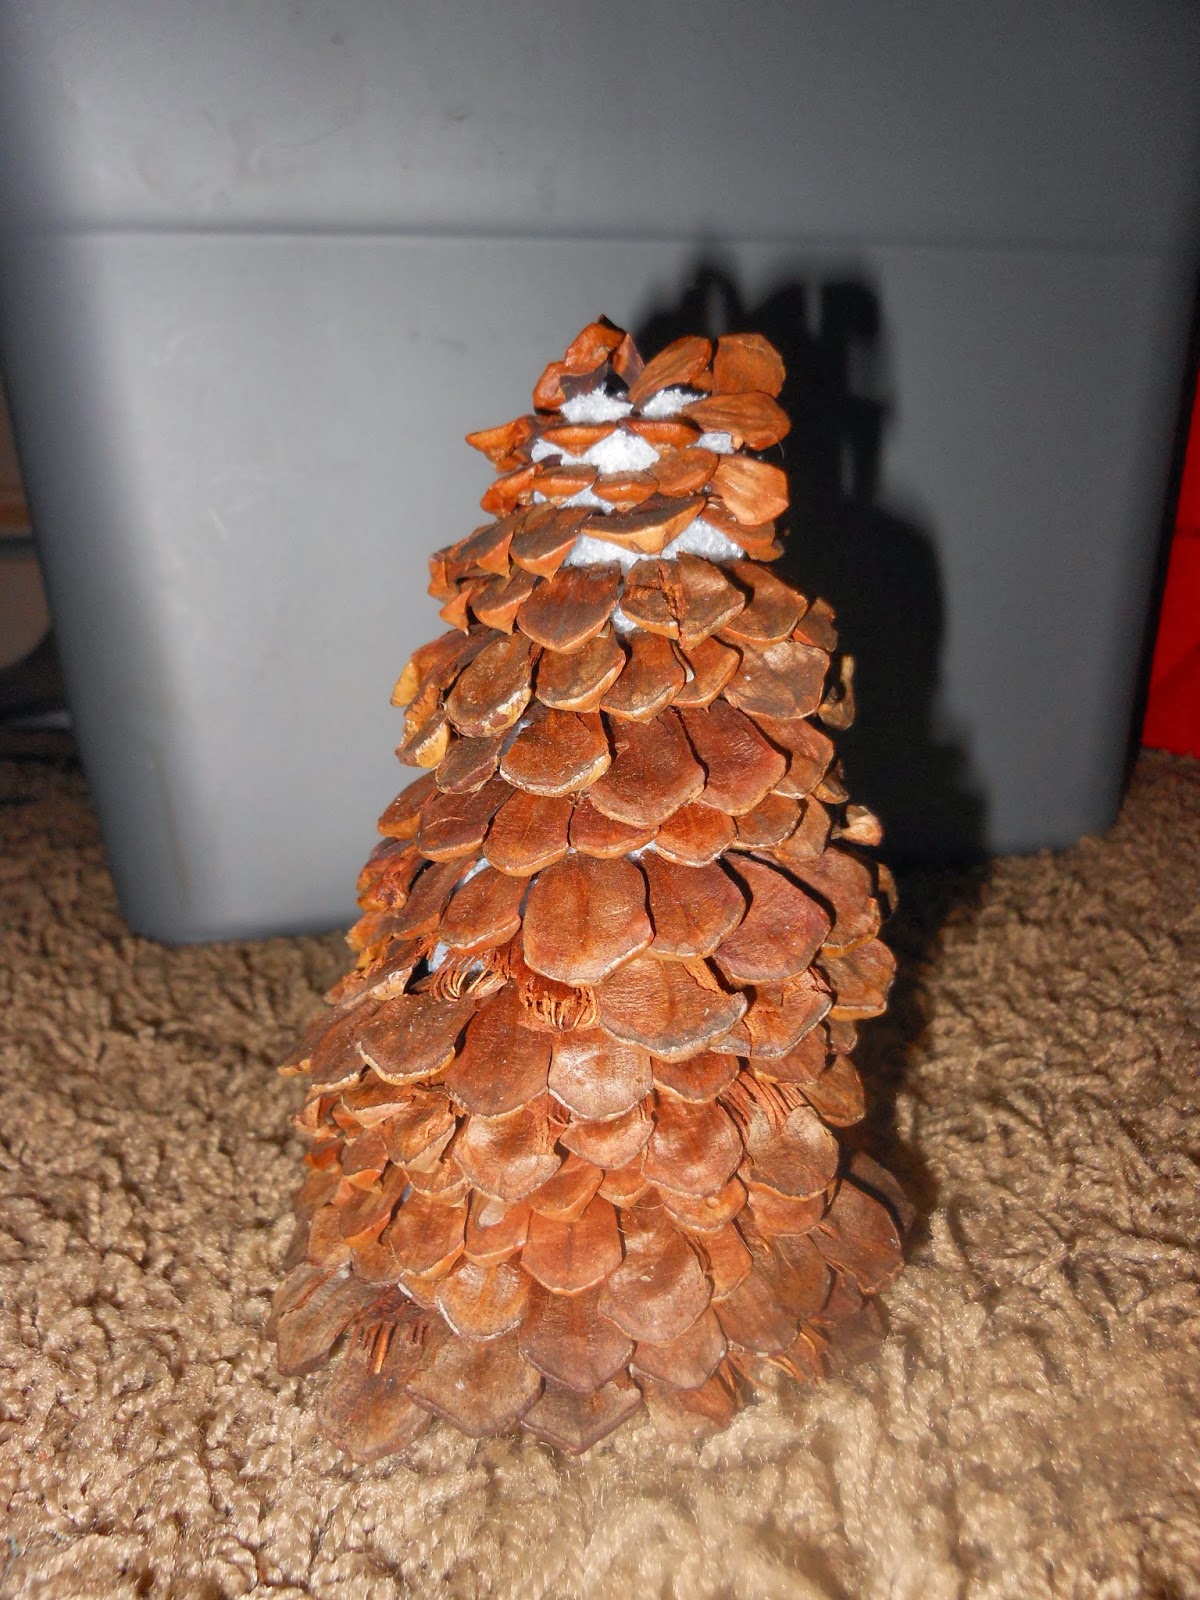
This is what mine looked like when I was done with the pinecone sticking part.
Now you will notice that since i didn't paint the styrofoam ( I hate painting styrofoam) that you can see some white. The way i fixed this was by getting two pieces of white ribbon (I didn't hand any red, and with the first one, wrapped it randomly around the top of the tree, covering up the white spots, and hot glued it in random places as well to make it stay. With the second one, I tied a bow and hot glued that on top for a make-shift "star on top."
For the ornaments, I found some fake flowers I had left from thanksgiving with little berries on them:
I broke of some single berries and hot glued those onto random pinecone pieces, it worked like a charm!
That's all! It is a little time consuming, but super simple, and such a fun little decoration to bring a little more of that wonderful Christmas spirit! I hope you guys liked it, and if you did, don't forget to follow me and comment below! Thanks everyone!
Merry Christmas!
xoxo
Megan


What a fun and easy craft! It turned out really cute too. You could make a little bigger one and use it as your Christmas tree this year. Hope the honeymoon was fun! :)
ReplyDelete